Are you feeling like it’s time you made a few recordings of your guitar playing? Are the ideas flowing and you want to build them into songs?
No problem, we can help! Today’s blog will describe, in easy steps, what you’ll need to both have at hand and then do in order to create simple, decent recordings. We’ll talk a little about different situations (recording an acoustic and an electric, for example) and get you on your way with the minimum of fuss.
We’ll keep jargon to a minimum and just guide you through the basics, with the aim of you having a nice digitally recorded representation of your recording. We won’t go much further than that, since it’s a never-ending topic, but you’ll find that out for yourself after your first few successful recording ventures! Let us begin!
What Extra Stuff Do I Need?
Ok, so you have a guitar, and if it’s an electric guitar, then we’ll assume you also have an amp or digital modeller for your tones and a couple of ¼” jack cables. What else do you need? Here’s our recommended list:
- Laptop or desktop computer
- USB audio interface
- DAW Software
- Microphone (if you want to record an acoustic guitar without a pickup) and XLR cable
- Headphones or monitor speakers
Are you unsure about some of these bits? Ok, stick around and we’ll talk further! Once you’ve got all this, skip forward to the next section.
USB Audio Interface
So, the most significant element here apart from you, the guitar and the computer is the interface. In days of old, people spoke of ‘soundcards’, and whilst this archaic term has long since gone to pasture, you might still hear some of the old guard using it. For everyone else, it’s ‘audio interface’, and it’s a very significant part of the setup.
An audio interface is a device that acts as a sort of translator or intermediary between your guitar and the computer. It gets connected to the computer via a USB port, and you use it to plug your instruments and microphones into. Interfaces normally feature a variety of inputs, with ¼” jacks for guitars, basses etc and round XLR inputs which are used mainly for microphones. You may even see these two input types combined into the one space, which looks like this:
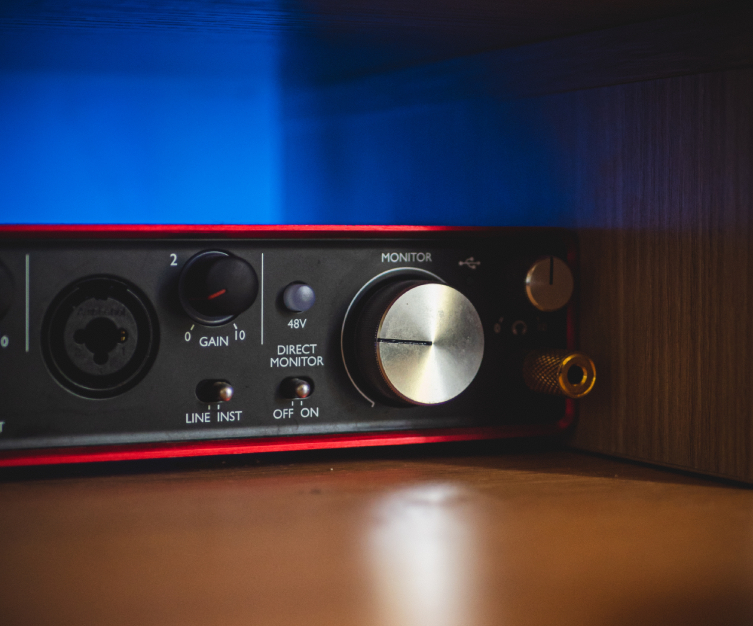
The audio interface acts as a preamp for your instrument, adding a degree of input volume or ‘gain’ to the guitar’s signal so that it’s easier for the computer to work with. Audio interfaces often supply ‘phantom power’ for certain types of microphone that may require it, too. Phantom power is often represented by a ‘+48v’ label next to a switch for turning the feature on and off. Don’t worry too much about all of this, but simply remember if your microphone is a ‘condenser’ style (they are generally larger than the type you’ve seen on stages) then it’ll need that extra voltage from the phantom power to spark it into life. Connect the mic to the input, switch on the phantom power and you’re all set!
It’s worth noting that audio interfaces are where you also connect your headphones and/or speakers, so don’t use your laptop’s headphone jack!
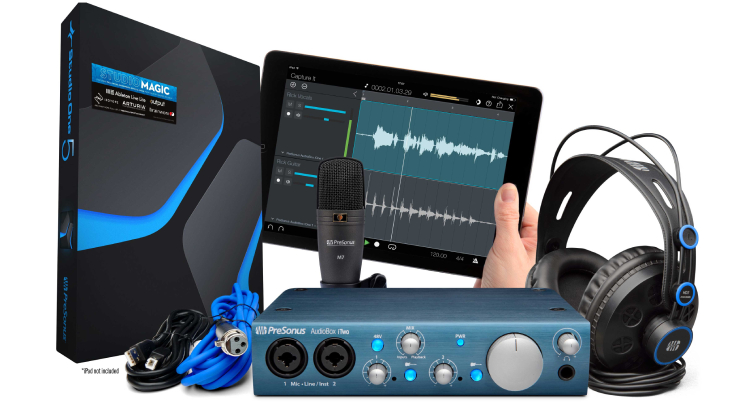
Audio interfaces can vary quite heavily in both size and cost, but for the purposes of our mission today, something small with perhaps two inputs on the front will do fine. If you had a full live band and wanted to record live takes, you’d need a big long interface with loads of inputs in it, but we’re keeping things simple today! Brands such as PreSonus, Roland and Universal Audio make excellent, cost-effective interfaces for PCs and Macs. You can often buy boxed bundles with the interface, a mic, mic cable, DAW software and headphones all together, and we reckon that’s a good buy!
DAW Software
The DAW is the main sort of canvas for recording these days. From bedroom setups to the world’s most expensive commercial studios, everyone uses some form of DAW to record music.
The term DAW (you pronounce it like ‘dog’ but without the ‘g’) stands for Digital Audio Workstation and it performs all the tasks of a traditional recording studio. There are many DAWs out there, and you’ll certainly have heard people talking about some of them: Pro Tools, Ableton Live, Cubase, Studio One and Logic Pro are a few of the main ones, but there are more. These DAWs can be extraordinarily powerful and therefore quite pricey, but here’s some good news: you often (read: almost always) get a ‘light’ version of a DAW bundled with most audio interfaces as a download when you buy them. The light versions will be limited in their capabilities, but again, we’re not quite setting out to make Dark Side of the Moon today, so whichever ‘Lite’ version came with your interface will be just fine for your current purposes. Get it downloaded and installed! The best DAW to use is the one you have and know how to use. Truly, all of them have their strengths and weaknesses, but ultimately you’ll be using them to meet your recording requirements, so don’t worry too much about which one you use, just get busy learning how that particular DAW works.
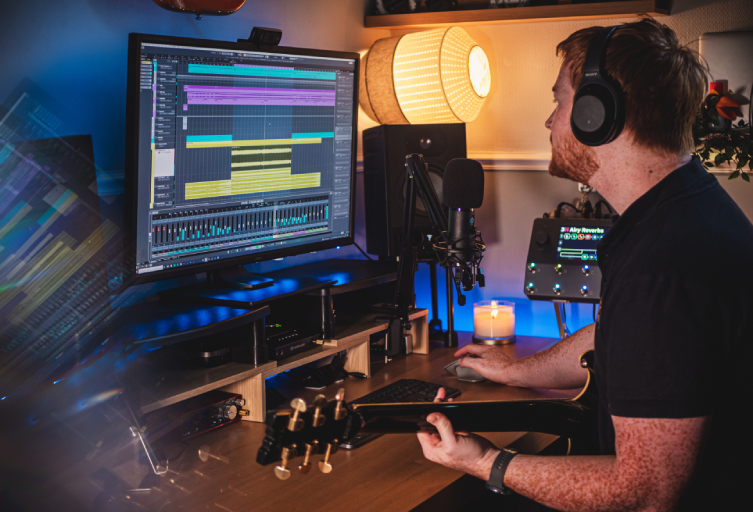
Capturing the Idea
Prior to even getting the DAW running and the mics plugged in, you’ll have to have a musical idea to work from. By far the easiest way to keep stock of your ideas is to quickly record them onto your phone. For this, simply use your phone’s built-in voice memo app (or whatever your phone model calls it). Place your phone close to your guitar or amp - wherever the sound is emanating from - and hit the red record button. Afterwards, make sure you rename the file so that you can at least distinguish it from the others in the long list of recordings you’ll inevitably collate. ‘Idea3’ starts to lose its objective meaning once you get to ‘idea653’, so call each recording something different and relevant!
A handy recorder is also a great idea, particularly if your phone is being used for another purpose, like, for example, a drum machine app or similar. Keeping a dedicated device for recording ideas is a good practice, but we feel like phones are the simplest option here since you’ll always have it nearby.
Okay, you’ve got some ideas 'sketched’ into your voice memos, but now you want a more carefully considered ‘final’ recording of better quality. Go back through those memos and find something that excites you. This is what you’ll recreate on the DAW. It’s time to set up the laptop and get busy recording!
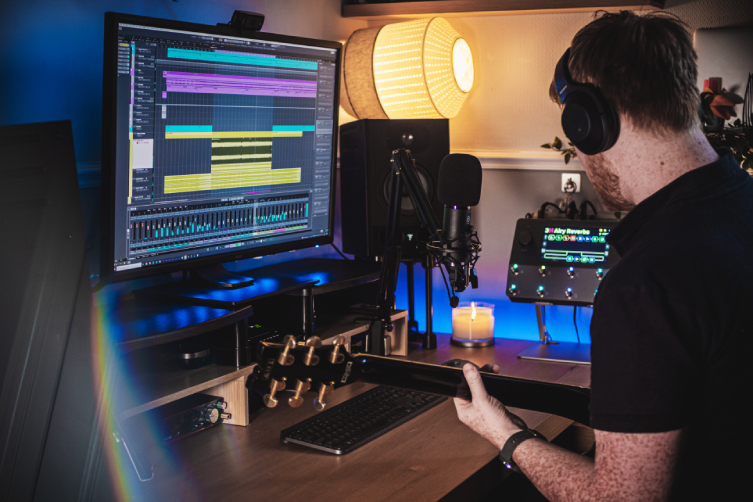
Recording on Your DAW: The Steps
Now it’s time to get going! You’ve connected your guitar to the interface (or your microphone, if you’re either micing up your amp or acoustic guitar), and the interface to your laptop. You’ve loaded up your DAW and you are ready to rock! What now? Follow these steps:
- Set the tempo: most DAWs offer a ‘tap tempo’ function by clicking your mouse or trackpad on the tempo button in time with the tempo you want, so hum your riff in your head and tap the tempo alongside. You know have the correct tempo. Job done!
- Check your headphone or monitor volume: don’t blast your delicate ears with volume! That goes for monitor speakers too. If you have studio monitors, connect them to the audio interface’s outputs and keep the volume sensible: you want longevity here, and tired ears are not the goal.
- Arm a track: this is just a term for selecting a track/channel to use on your DAW, hitting the ‘record arm’ button (normally just another red record circle), selecting the input (which is your audio interface normally) and making sure there’s a signal coming through. Tap a few notes and see if the input level indicator (you know the one, the vertical line on each track/channel that rises when you make a sound) reacts by moving up in time with the sound you made. If so, you’re good!
- Get your tone: Whether it’s your trusty amp and pedals or a plug-in such as Amplitube or Guitar Rig, take some time to dial in the tone you want. Think about the end result. Do you need as much gain as that? Remember, you can always add effects later via the DAW, so it might be an idea to leave off the ginormous reverb until later, unless it’s an intrinsic part of your desired sound. Adding effects later via the software allows you room to tinker and adjust: recording the part with your amp’s reverb on (for example) will ‘print’ the audio like that, and you won’t be able to take the reverb off if you change your mind about having it later on.
- Set Your Volume: Have a look at that input level indicator (some people call it the input meter) and make sure it’s not hitting the top of the vertical bar and turning red. If this happens, your signal is too ‘hot’: there’s too much input, basically, so you need to turn your signal’s volume down. This is easy: it’s the physical knob on your interface next to where you’ve plugged in your guitar. Turn it down a little until the signal is strong but not entering the ‘clipping’ domain, which will impair the sound. Conversely, if you aren’t getting much of a reading on the input level indicator, turn that input volume knob on the interface up!
- Hit the red ‘record’ button and go for it! Now’s your time to smash out your greatest ever performance! Well, a good clean take will do. Once you hit record, you normally get four beeps from the DAW’s metronome click as a count-in. Then you’re off! We recommend keeping the click turned on so that you don’t naturally drift out of tune as you perform. Timing is everything, particularly if you want to add drums etc later on.
Quick Notes for Acoustic Strummers
Are you using an acoustic guitar? Okay, here are some brief tips to help out:
- Use headphones, not speakers: you are using a microphone to record your guitar, so it’ll pick up any and all sounds coming out of the speakers, which you do not want. A ‘feedback loop’ can be fun in arty post-rock contexts, but not when it’s terrorising your delicate mediaeval fingerpicking acoustic part.
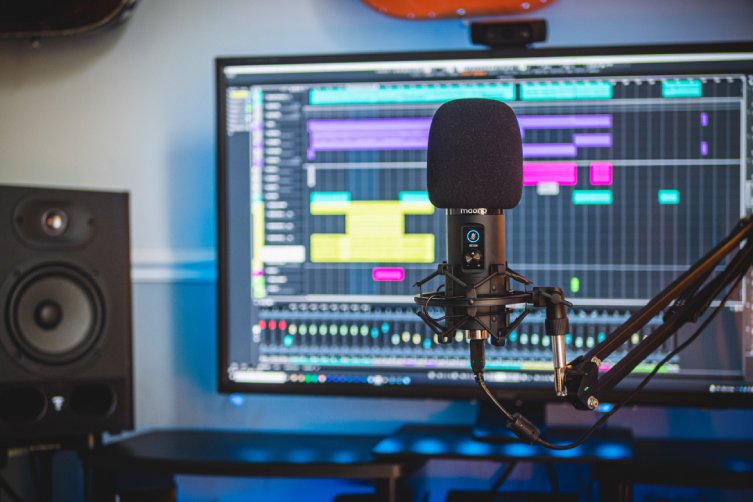
- Mic placement: aim that mic at your guitar’s upper frets but tilted towards the soundhole. This will get you the best general sound, and then it’s a matter of moving around a little and using trial and error to hit the spot that your eyes like the best. You’ll hear the difference through your headphones as you strum.
- Sit closer: if your signal is not showing as too strong on those input level indicators, try sitting slightly closer to the mic first, before you try turning up the volume level on the interface. Acoustic guitars just cannot wait to start howling inside your headphones, so exercising real world physics (moving closer or further away) often beats nuking the input signal.
- Stop fidgeting: Unless you want your audience to hear you clearing your throat, moving in your seat, open-mouth breathing and you muttering to yourself, consider being as silent as possible before and after your performance. Every movement made by your hands will show up on the recording too, so do be aware!
Time to Listen Back
You’ve done it! You’ve recorded your amazing guitar idea onto your computer via the DAW! Congratulations! So, now you want to hear it back, right? Easy! Just hit play! Have a listen and then hit Stop and Play to make it go again from the beginning.
How does it sound? Good? Cool, why not repeat the process on an adjacent track and add a second guitar part? You can have the first running as you record, so you can hear it and play along, or you can mute it if you’d rather not hear it. Hitting Play after that will play both parts simultaneously. Magic.
Look at You, You Rockstar
In no time at all, you’ve managed to record your own mini symphony of guitars. Do you feel like Brian May? Hopefully this little walkthrough has whetted your appetite for more recording adventures. The world is your sonic sculpture, just waiting to be shaped by your newly found skills. Don’t deny us all the fruits of your imagination!
Now get back to it, and click the link below when your ambitions inevitably increase and you need to see more mics/interfaces/controllers etc. Just think of the possibilities!
Click to Browse our Recording Equipment